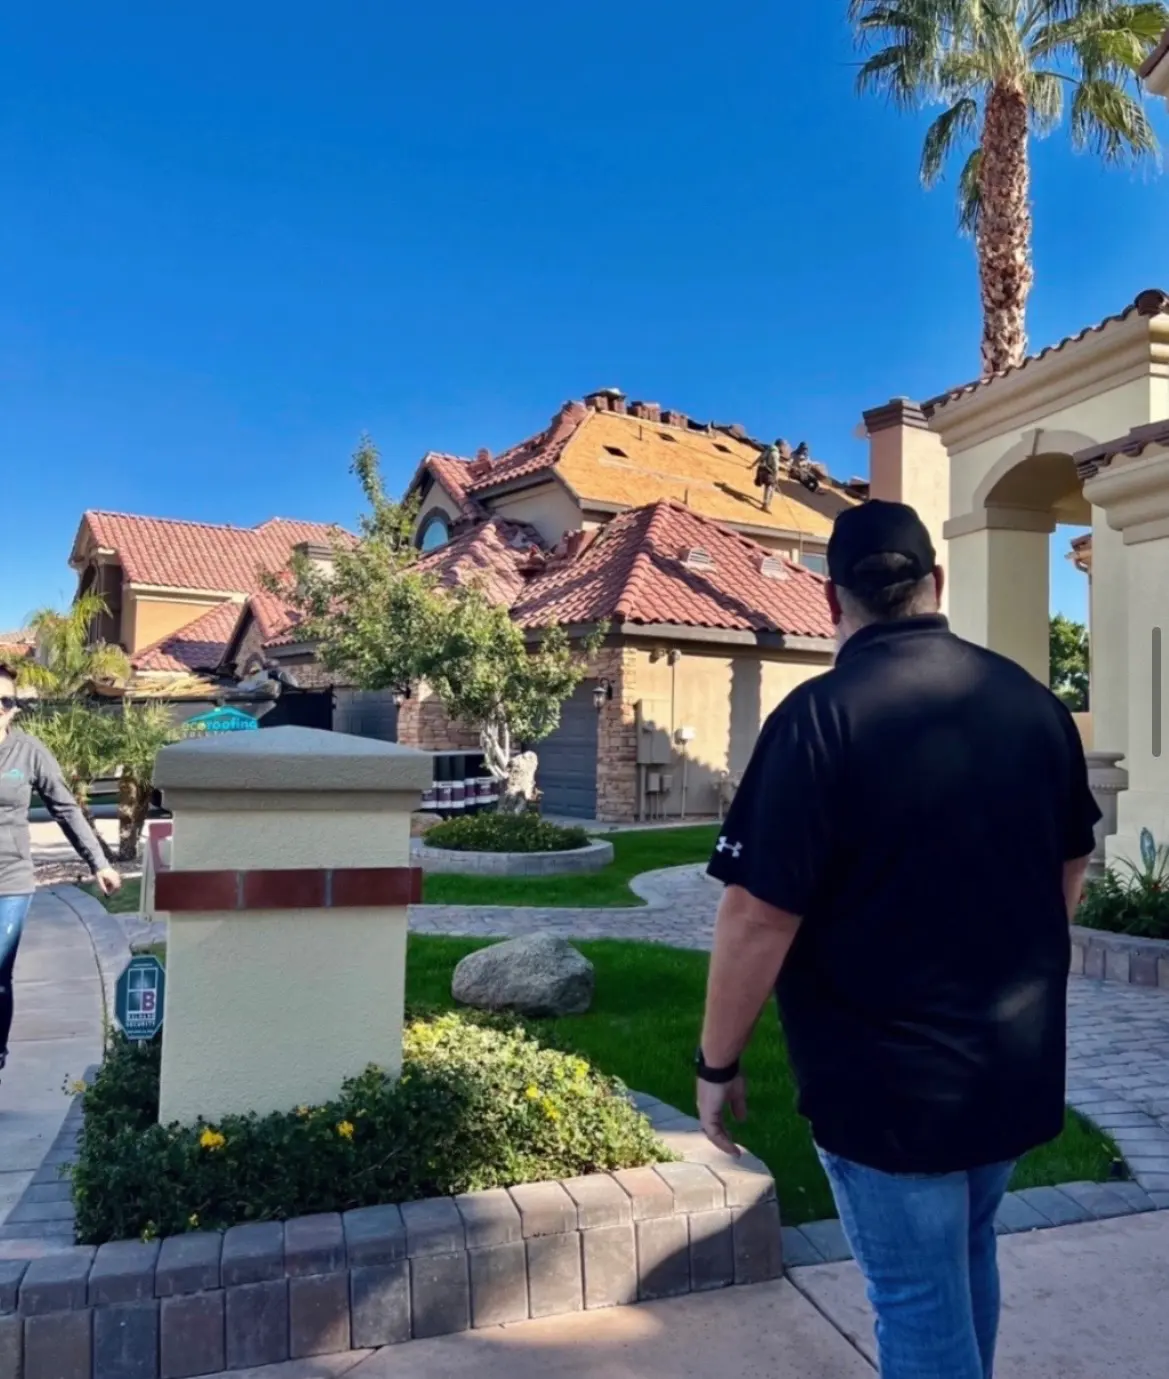
A roof inspection is a systematic walk-through of your roof from the outside, your attic from the inside, and — when the situation calls for it — a specialty scan for moisture you cannot see. Expect it to take one to two hours on a typical home, expect photographs, and expect a written report you can actually act on. The point is not to find something wrong; it is to know exactly where you stand before a monsoon finds out for you.
Scheduling a roof inspection is critical to maintain your home. Knowing what to anticipate can make the process go more smoothly and effectively, whether planning routine maintenance, recovering from a catastrophic storm, or getting ready to purchase a new property.
Why are roof inspections important?
A professional roof inspection helps identify potential issues early, saving money and preventing extensive damage. Inspectors evaluate the condition of your roof, looking for signs of wear, leaks, and structural problems. This proactive approach ensures your roof stays in top shape, extending its lifespan.
Two things make this especially true in the low desert. First, most Arizona roof failures are slow and invisible — underlayment going brittle under tile, a foam topcoat chalking away, sealant shrinking at a pipe boot. Nothing announces itself until water shows up on a ceiling. Second, the damage that is sudden arrives in a compressed window. The National Weather Service defines the Arizona monsoon as June 15 through September 30, and microbursts and haboobs within that season can lift edge metal, displace tile and drive rain sideways under laps that shed a normal rain just fine.
How often should an Arizona roof be inspected?
The National Roofing Contractors Association recommends inspecting roof systems at least twice per year, preferably in spring and fall, and after any major weather event. Translated to this climate:
- Late spring, before June 15. Catch loose tile, failed sealant, clogged drains and open flashings while there is time to fix them.
- Early fall, after September 30. Document what the storm season did while the evidence is fresh.
- After any significant storm. A single microburst can do more in five minutes than a year of ordinary weather.
- Before you buy. A roof is one of the largest single line items on a house, and you want to know its condition before closing, not after.
What happens during a roof inspection?
A roof inspector will conduct the following steps when checking the condition of your roof.
1. Exterior examination
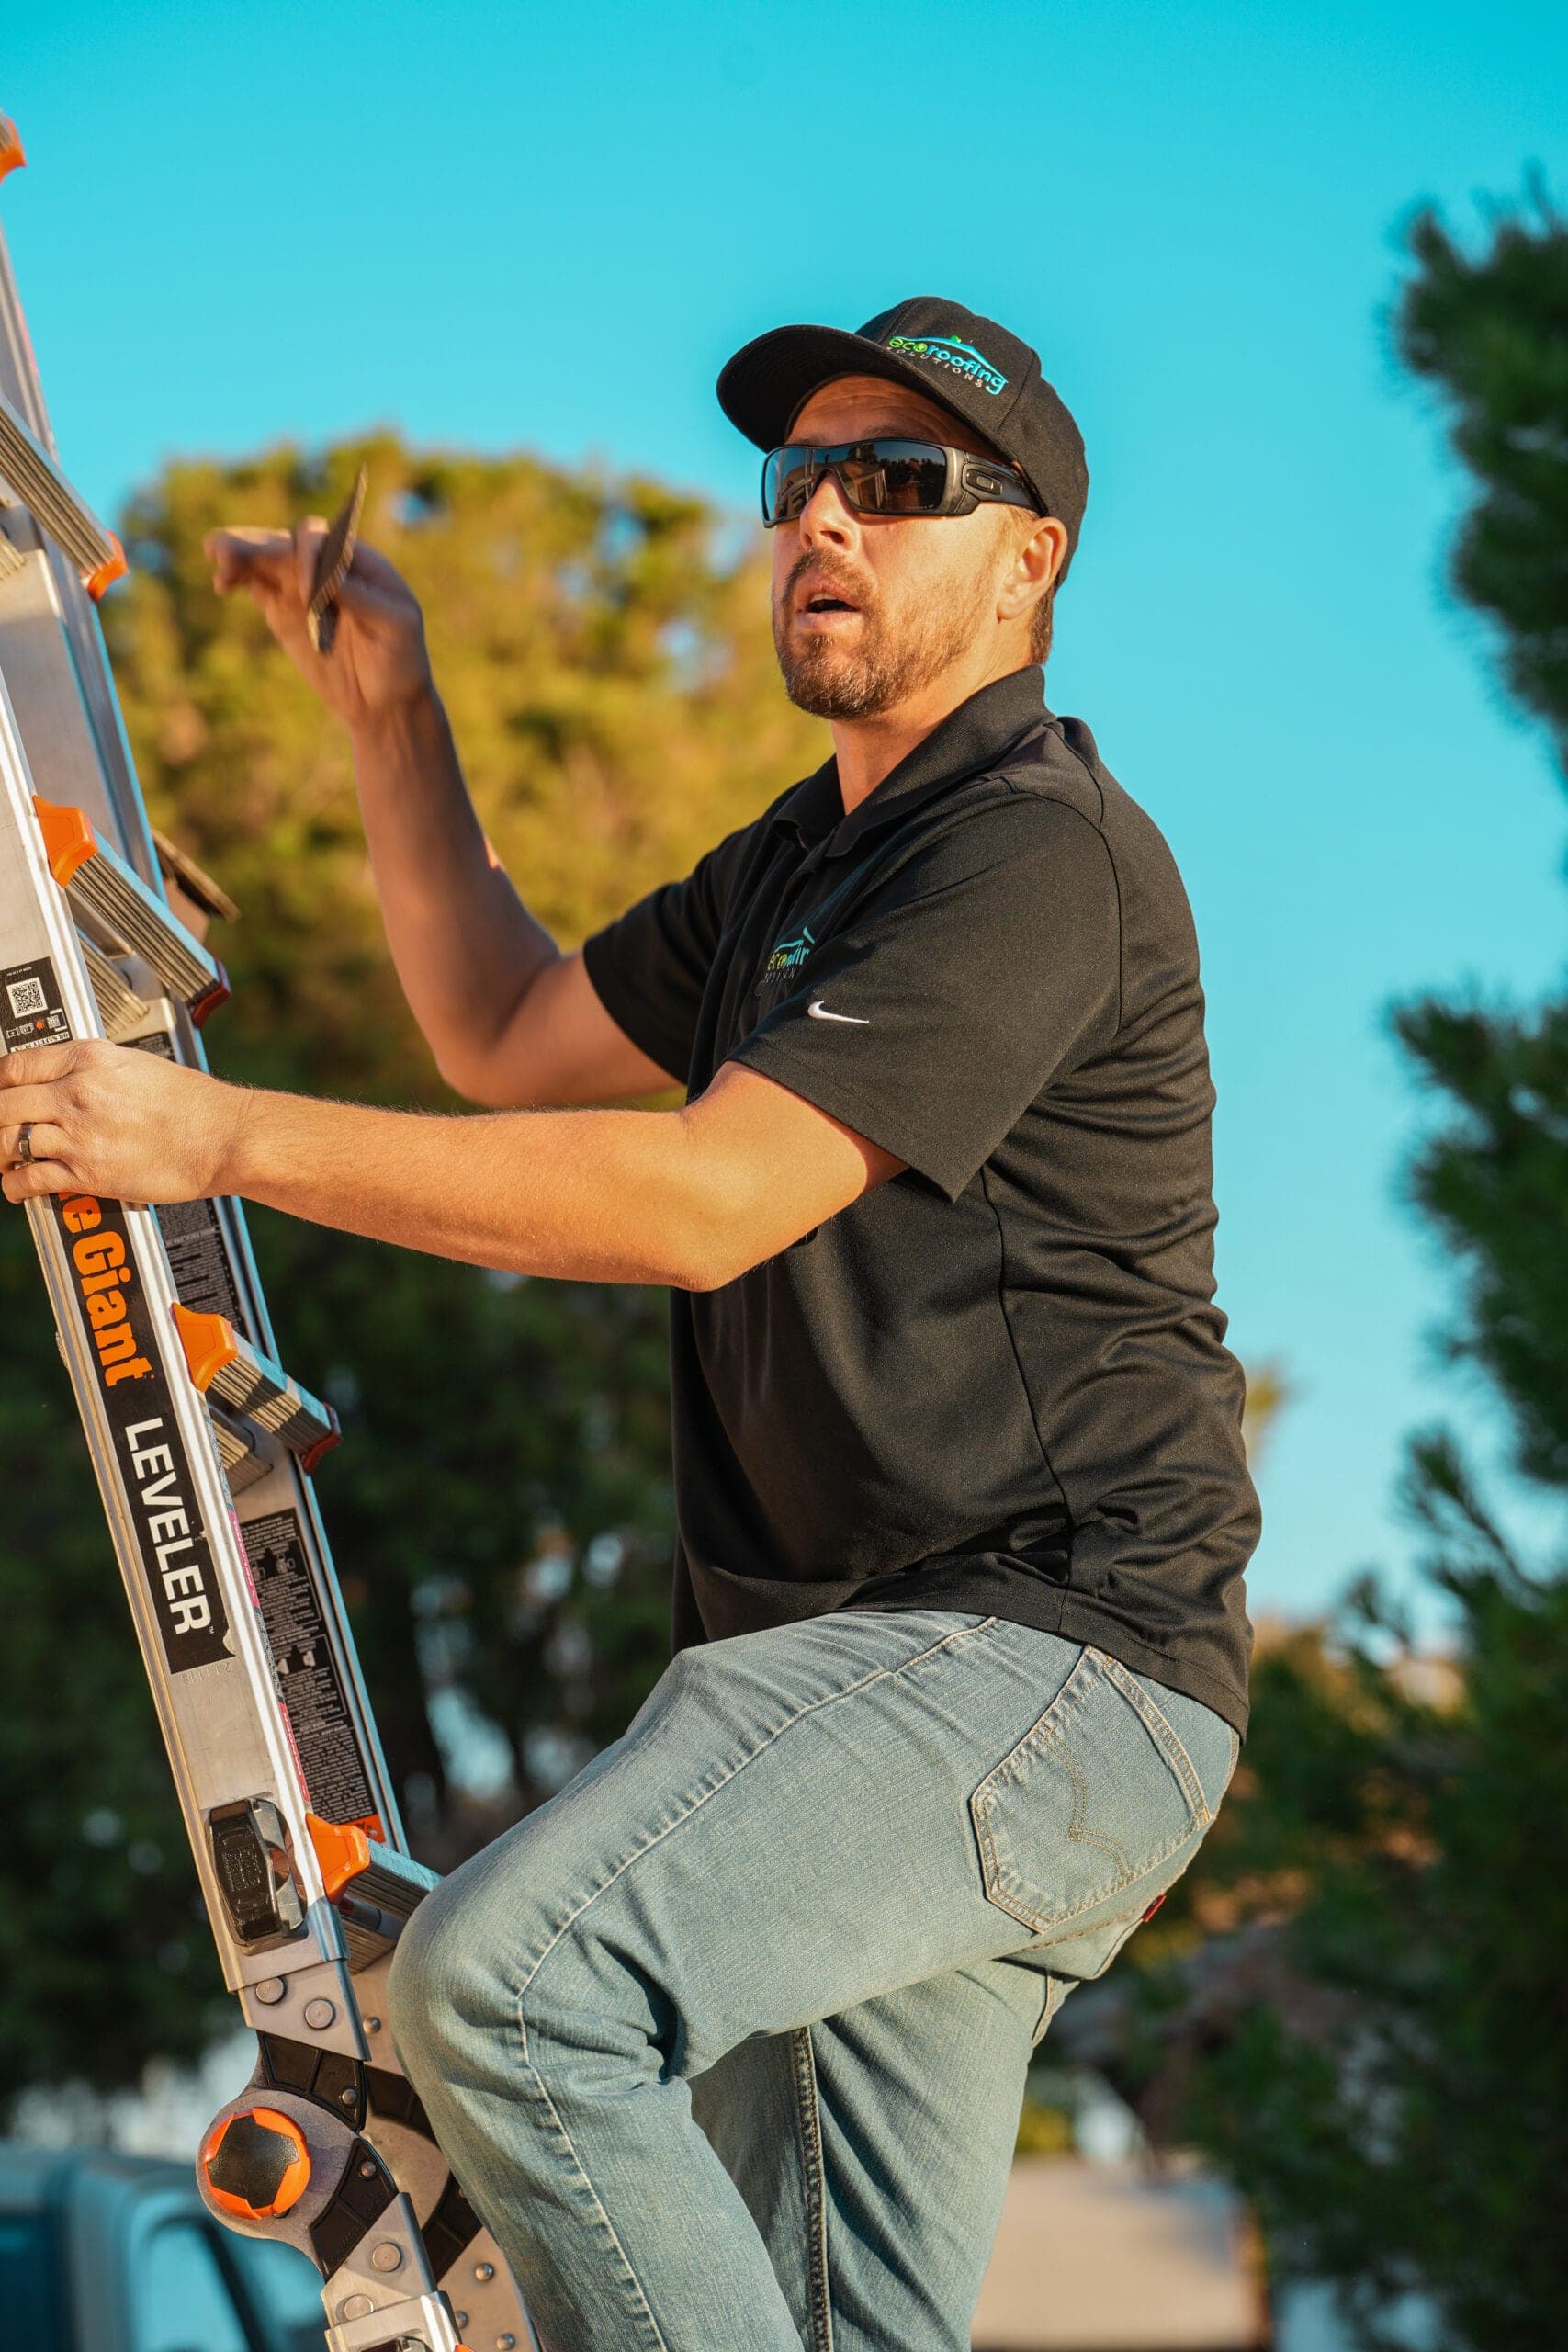
The inspection begins with an exterior assessment. The inspector will use a ladder to access your roof and evaluate key elements such as:
- Shingles: Checking for cracks, curling, missing pieces, or general deterioration.
- Flashing: Examining the metal strips around chimneys, vents, and skylights for rust or gaps that could lead to leaks.
- Gutters and Downspouts: Assess for blockages, sagging, or damage that could hinder water flow.
- Roof Structure: Looking for signs of sagging, uneven areas, or other structural concerns.
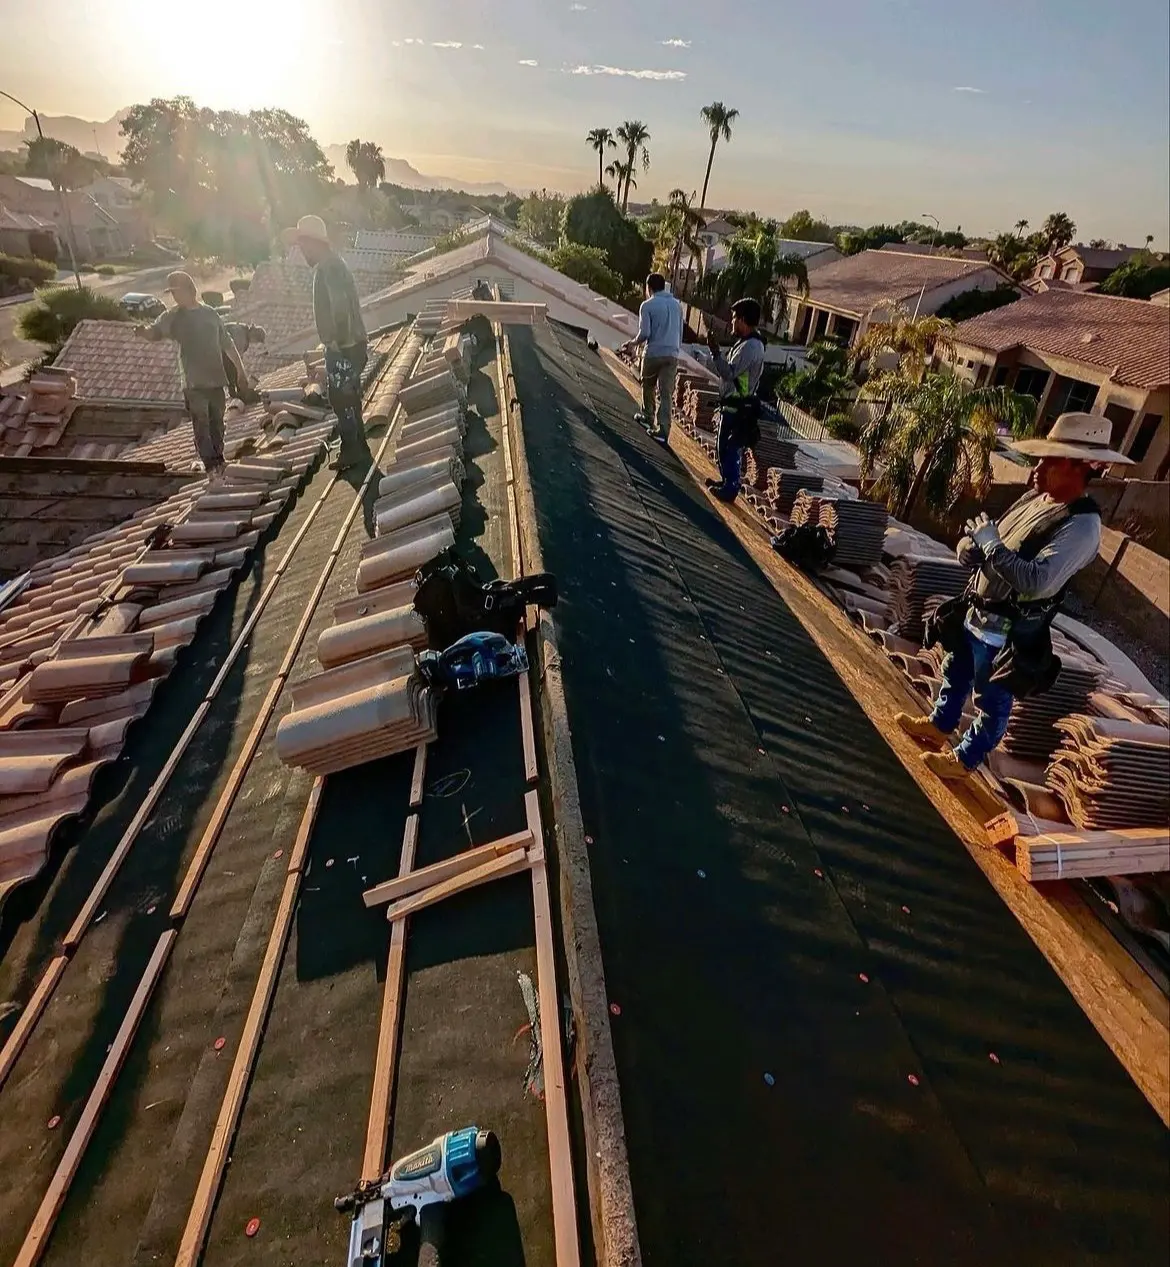
On a tile roof, the exterior pass also means checking for slipped, cracked and broken tiles, looking at the condition of the mortar and bird stops, and — importantly — lifting tile in a few representative places to see the underlayment beneath. On a flat or low-slope roof, it means walking the field for soft spots, checking seams and terminations, inspecting drains and scuppers, and looking closely at every curb, pipe and equipment penetration.
2. Interior inspection
Once the exterior has been inspected, the roof inspector will look at your attic or ceiling for any issues, including:
- Water Damage: Stains, molds, or damp spots that indicate leaks.
- Ventilation Issues: Proper airflow prevents moisture buildup and maintains temperature balance.
- Insulation Problems: Inadequate insulation can leak, causing heat loss and increased energy bills.
The attic tells you things the roof surface cannot. Daylight through the deck, rusted fastener tips, matted or displaced insulation and staining on rafters all point to specific problems. Ventilation gets checked against the International Residential Code requirement for net free ventilating area of at least 1/150 of the vented attic space, with the 1/300 allowance available when 40 to 50 percent of the required venting is located in the upper portion of the attic and the balance sits low. Insulation gets measured against the Department of Energy's guidance for climate zone 2, which covers Phoenix metro and calls for roughly R-30 to R-60 in the attic.
3. Specialized equipment use
Inspectors sometimes use advanced tools like infrared cameras to detect hidden issues, such as moisture trapped under the roofing materials or heat escaping through the roof.
Infrared has a real standard behind it. ASTM C1153 is the standard practice for locating wet insulation in roofing systems using infrared imaging, and it works because wet insulation stores more heat than dry insulation and stays warmer after sunset. That is why proper infrared surveys are done at night, and why the standard calls for verification coring to confirm what the camera shows. Other tools that show up on the job include moisture meters, core cutters on low-slope roofs, and drones for steep or fragile surfaces where walking would cause damage.
What do inspectors look for that is specific to Arizona roofs?
A checklist written for Ohio will miss most of what actually goes wrong here. On Valley roofs we pay particular attention to:
| What we check | Why it matters here |
|---|---|
| Underlayment condition beneath tile | Felt goes brittle in desert attic heat, typically in the 12–20 year range, long before the tile wears out |
| Foam roof topcoat thickness and chalking | The foam depends entirely on its coating for UV protection; recoat cycles run roughly 10–15 years |
| Sealant and pipe boots | UV destroys exposed sealant and rubber boots faster than almost any other component |
| Parapet walls and coping | Common on Southwest architecture and a frequent leak path on flat roofs |
| Drains, scuppers and overflows | Monsoon rain arrives fast; a blocked drain becomes standing weight |
| Dust and debris in valleys and at drains | Haboob dust packs into valleys and behind gutter screens and blocks drainage |
| Fastener and edge metal condition | Microburst winds attack the perimeter first |
| Cracked or slipped tile from foot traffic | Solar installs, HVAC service and satellite work all break tile |
What should the post-inspection report include?
What happens after the inspection? You can consult with the inspector and receive a report detailing the findings. This document will include photographs, descriptions, and recommended solutions. Some contractors may also provide an estimate for repair or replacement.
A report worth keeping should give you:
- Dated photographs tied to specific locations on the roof
- Condition by component, not just an overall grade — deck, underlayment, covering, flashings, penetrations, drainage, ventilation
- Severity and urgency, separating "fix now" from "watch this" from "plan for it in a few years"
- An estimate of remaining service life for the system as a whole
- Clear recommendations, with repair and replacement addressed as distinct options
Keep every report. A file of inspections over several years is the most useful document you can hand an insurer or a buyer, because it shows condition over time rather than a single snapshot after something went wrong.
How do I prepare for a roof inspection?
If you are worried that the process might become a hassle, here are a few things that you can do to prepare for an inspection:
- Clear the area around your home for ladder placement.
- Inform the inspector of any known issues.
- Ask questions about their findings or recommendations.
A few more that make the visit more productive: unlock the gate and secure the dog, clear the attic hatch and anything stored under it, and pull together whatever roofing paperwork you have — prior repairs, permits, warranty documents. If you have had a leak before, note where and when, even approximately. And if solar panels are on the roof, mention it when you book, since panel arrays change how much of the surface can be inspected.
What happens after the inspection?
Most inspections end in one of three places: routine maintenance, targeted repair, or planning for replacement. Maintenance means cleaning drains, resealing penetrations, resetting a few tiles — small work that buys years. Repair means addressing a defined failure. Replacement enters the conversation when damage is widespread, when the roof is at the end of its material's service life, or when repeated leaks in different areas say the system itself is done.
The important thing is that you get to decide with real information in hand. A roof inspection is an invaluable tool for protecting your home. By addressing issues early, you can ensure your roof remains sturdy and reliable for years. Whether it's part of routine maintenance or prompted by specific concerns, a professional inspection gives you peace of mind and helps safeguard your investment.
Ready to get eyes on your roof?
Eco Roofing Solutions, LLC is a family-owned contractor at 75 W Baseline Rd Suite 19 in Gilbert, licensed under Arizona ROC 330901 (CR-42) and a member of the Arizona Roofing Contractors Association. Owner and President Eric Perry is a third-generation roofer with over 25 years of hands-on experience. We're open Monday through Saturday, 8AM to 5PM, and hold a 4.8-star rating from 385.
If you're ready to schedule a roof inspection and maintenance visit — or need a commercial roof evaluated for a building you manage — contact us or call (480) 695-7736. We work throughout Gilbert and the wider Phoenix metro.